Getting started with Teams? There are a couple of items to check first, but if you are already up and running with Obzervr, you can skim the next section and jump into creating Teams on Obzervr Manager.
Why do you need to add Teams on Obzervr Manager?
Teams is a feature on Obzervr that associates users from the same business units into different groups so they don't need to access irrelevant information and be burdened by data that is not relevant to their Work. Learn more about Teams here.
Before you create Teams
Before you can create a Team, you will need to check two things:
-
Your User has the correct Roles & Permissions!
What roles and permissions will you need?
- Access to Manager Web Portal as a Web User.
- Full Tenant Admin or Team Admin roles.
Not sure if you have the right permissions or where to find permissions? Check out the following articles:
-
You have configured Obzervr Manager i.e. you have created Users, Locations and Assignment Types.
If you haven’t, here’s a couple of articles to check out first:
- How to create Users on Obzervr Manager
- Obzervr Manager - 6 Ways to use Work5 ways to use Assignments in Obzervr Manager
- How to create a Work Template on Obzervr Manager
- Digitise your Laboratory sampling using Obzervr Manager
- Creating Trip Templates in Obzervr Manager
How to create Teams
- Open Obzervr Manager.
- Navigate to the Console by clicking on your initials in the top right corner of the screen and selecting Manage Tenant(s) from the list.
- Click on tenants.
- In the tenant’s page, click on Team.
- On the Teams page, click on Create button.
- Give the Team a Name and add a Description if you want (i.e. Groundwater Sampling).
- Add Users to the Team. IMPORTANT: make sure you click the small 'plus' icon to add the user to the team before clicking the tick, otherwise the user will not be added to the Team.
- Add Work Template and Locations to the Team. These are the required fields to create a Team. You can use the map to draw a polygon around an area to include all the Locations. IMPORTANT: make sure you click the small 'plus' icon to add the work or the locations to the team before clicking the tick, otherwise they will not be added to the Team.
- If you want, you can add Trip Templates and Test Plans required for Team.
- Click the tick icon to Save. You have created a Team.
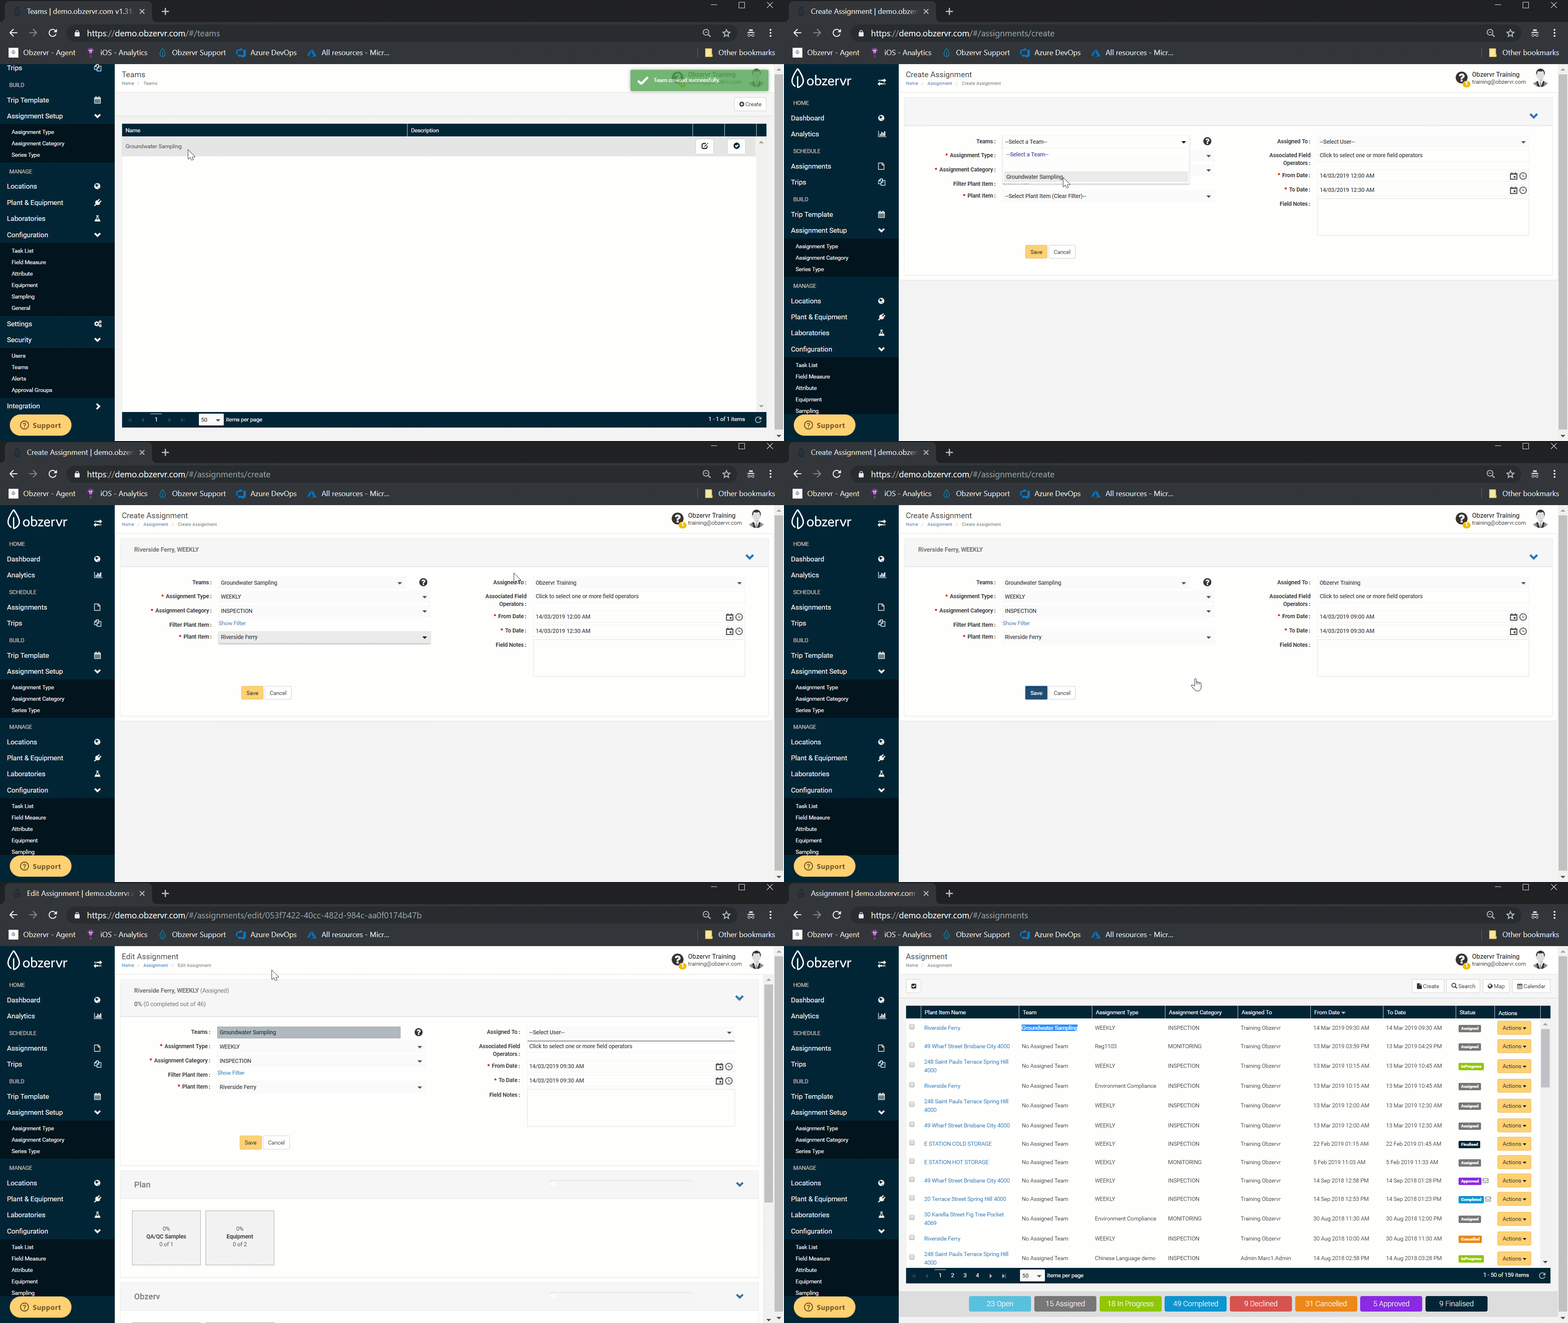
- The Team Name and Description will be displayed in Teams list.
You have created a Team! Add yourself to the Team so you can see all the User’s Work and Trips.

Some key notes about Teams:
- Test Plans will need to be added to the Team as well as the Assignment Type. Even if you only have one Test Plan, it will need to be added to each Team so that Capture Users can use the Test Plan to add samples.
- You can add Locations to the Team. When the Team is selected, only the relevant Assignment Points will show.
- You can also add Assignment Point Types to the Team. Using Assignment Point Types is another way to add a large group of Assignment Points to the Team. Not only will you see the Assignment Points you attach, but you will also be able to access any of the Assignment Points which have the Assignment Point Type that you have added to the Team. Wondering what Assignment Point Types are and why we use them? See more here: How to add more information to a location using Attributes.
What it looks like once you've created a Team:
Want to hear more about Obzervr? Check out our website (www.obzervr.com) or social media pages (LinkedIn, Twitter or Facebook).
Leave a comment below and click to let us know if this article was helpful!

Comments
0 comments
Please sign in to leave a comment.